A Step-by-Step Guide to Building Your Own AI-Powered Shopify Store
What if I told you there’s an easy way to make money online with AI, without any hassle whatsoever?
Aren’t you tired of all the online money-making schemes that require endless surveys, constant camera time, or complicated this and complicated that??
Of course, you are.
Listen, you don’t have to be an influencer, create fancy products, or even be on camera. All you need is a 100% free AI tool, your phone or computer, and about 10 minutes of your precious time.
Let’s dive into what I believe is one of the best, laziest ways to make money online using a free AI tool called Build Your Store.
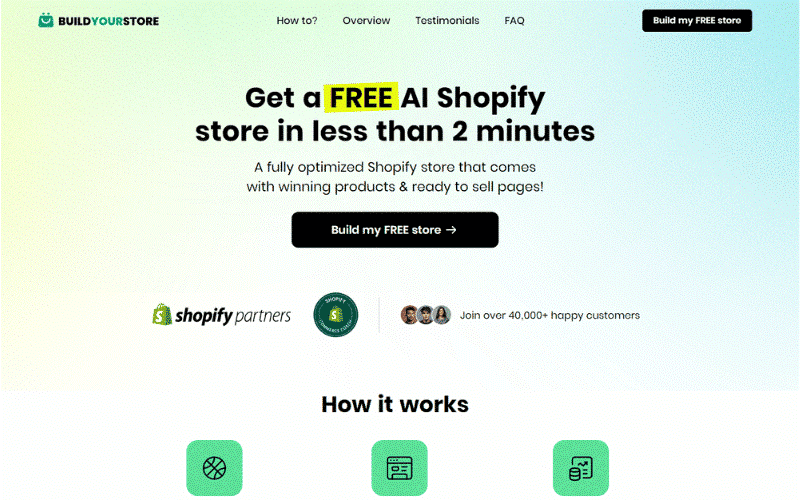
This “Build your store” tool will build an entire Shopify store for you, allowing you to sell other people’s products without having to stock inventory or lift a finger beyond the easy setup.
And guess what? When those products sell, you get paid.
Even better, you don’t need to spend a lot of money to get started. In fact, we’re going to do this all for free.
Yesssss…… FREE!!
Step 1: Getting Started with Build Your Store
The hardest part of this entire process? Deciding what interests you.
To begin, head over to the “Build your Store” website.
Then the first thing you’ll want to do is open a Google Doc—don’t worry, it’s free—and list out 10 to 20 things that interest you. These could be hobbies, things you enjoy doing daily, or simply topics you find fun.
Even though AI will be doing most of the work, you still want to make sure it’s creating something that resonates with you.
Step 2: Building Your Store
- Once you’ve figured out your interests and made your list, head back to the AI website builder and select “Build My Free Store”
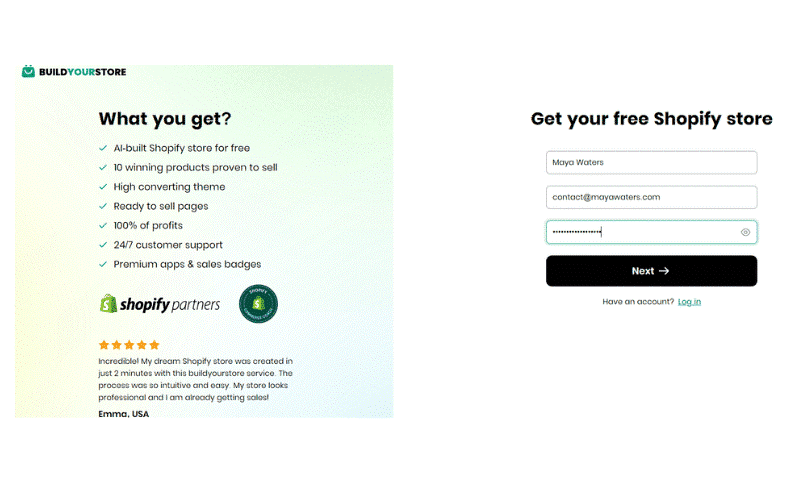
- You’ll be asked to enter some basic information like your name, email address, and password.
After that, select “Next.”
- Now, you’ll need to choose a niche.
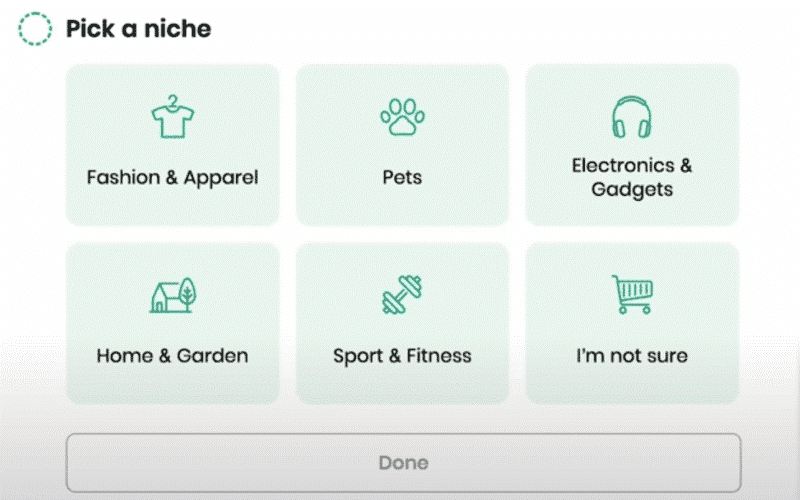
You have 5 lovely options (ok, 6 if you count “I’m not sure”):
- Fashion and Apparel
- Pets
- Electronics and Gadgets
- Home and Garden
- Sport and Fitness
- Compare your list of interests to these niches and pick the one that’s closest to what you like.
It doesn’t have to be a perfect match, just something in the ballpark. If you’re unsure, you can even let the AI choose a niche for you.
For today’s example, I’m going with “Pets” because I have two pups at home – Odie and Scribbles – so, it’s a topic I can relate to.
After selecting your niche, hit “Done”
- Next, you’ll be asked to choose a banner for your store.
The AI will design six different banners for your homepage, and you can pick the ones you like best. I picked one that reminded me of my golden retriever Odie—it’s cute and plays on people’s emotions.
After picking two banners, you’ll move on to the next step.
Step 3: Connecting Your Store to Shopify
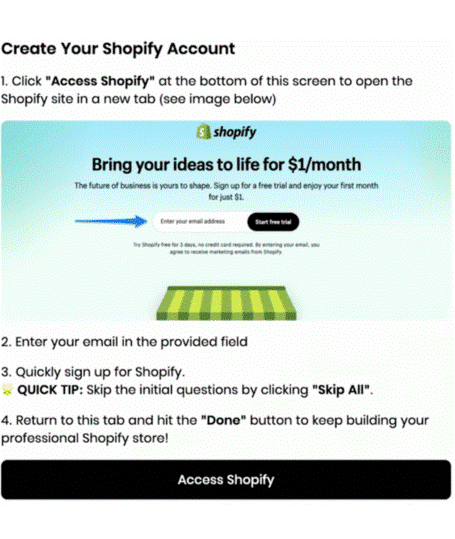
- Now it’s time to choose “Access Shopify“
This step will allow you to connect the AI store builder to your Shopify account.
You’ll be able to get a 3-day free trial of Shopify, and on top of that your first month will only cost $1.
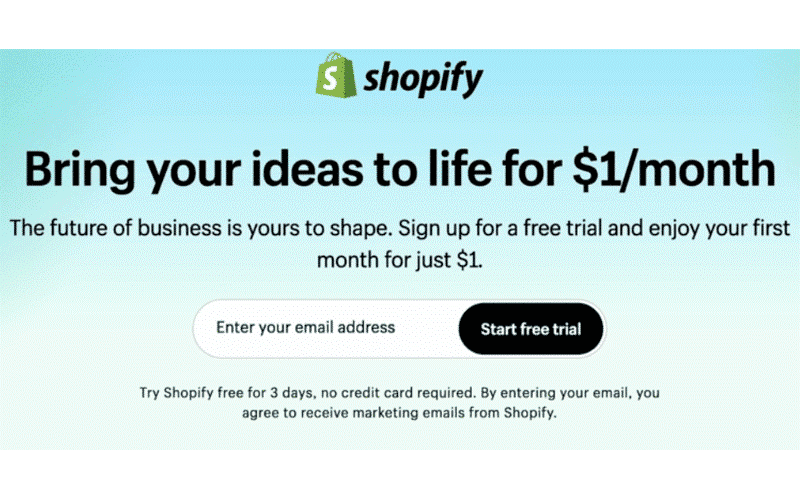
But you will need to enter the email address you used with Build Your Store.
After that, Shopify will ask a few questions, but you can skip most of them.
The only thing you’ll need to confirm is where your store will be based. You can do this from almost anywhere in the world—Shopify supports many countries, including several in Africa.
- Once you’ve finished signing up, Shopify will create your store and give you an admin URL.
Note: Make sure to copy this URL because you’ll need it later.
After copying the URL, return to Build Your Store and select “Done“
- The next screen will show you how to get your free trial and the $1 discount for your first month. You’ll need to use this discount to proceed.
- When you select “Access Shopify,” the system will automatically choose the most basic and cheapest plan for you. Confirm the billing cycle, and enter your address and a phone number.
A PRO TIP:
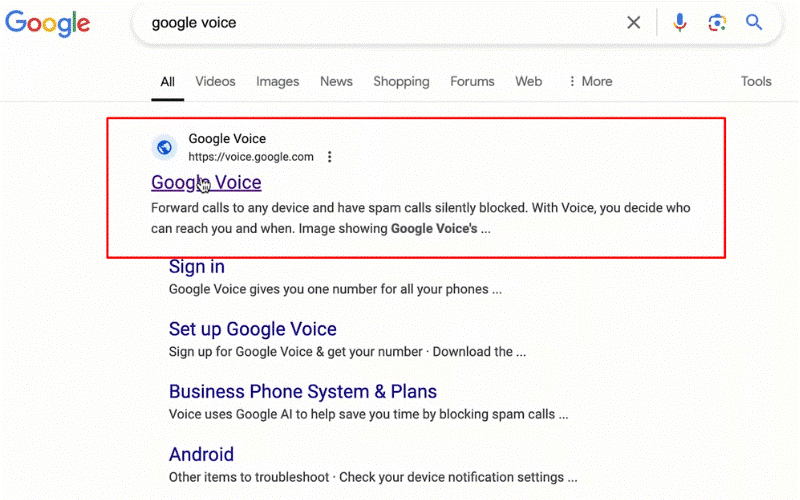
Use Google Voice to get a free phone number so you won’t have to use your personal number.
This is especially important because your store will have customers, and if they run into any problems, they might try to reach out to you. A Google Voice number will protect your privacy.
After entering your phone number, pay the $1, then return to Build Your Store and select “Done.”
Step 4: Customizing and Finalizing Your Store
At this point, you’re almost done!
Follow the remaining steps as they are outlined. The AI will guide you through the rest.
- Select “Install” which confirms that you’ve installed the app. Now, it’s time to make the store unique and truly yours.
- Click on “Customize My Store” In less than a minute, AI will create your store.
You won’t see the results immediately, but trust me, it’s happening behind the scenes.
One final task remains: adding products to your store.
- For this, you’ll need to register for AutoDS.
AutoDS will automatically select “winning” products—these are products that have proven to be successful and generate sales.
It will add these products to your store, complete with pricing, photos, and descriptions.
The best part? When a customer buys a product, AutoDS will handle the shipping for you, making this a truly passive income source.
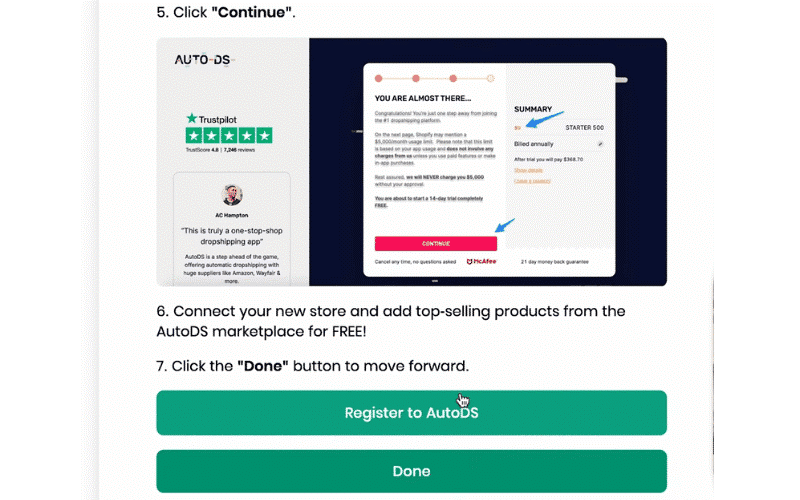
To Register for AutoDS:
- Select “Register to AutoDS”.
You can sign up with your Google account or enter your information manually—just be sure to use the same email address you’ve been using throughout this process.
- After signing up, you’ll be prompted to choose where you’re selling your products (we’re going with Shopify, of course).
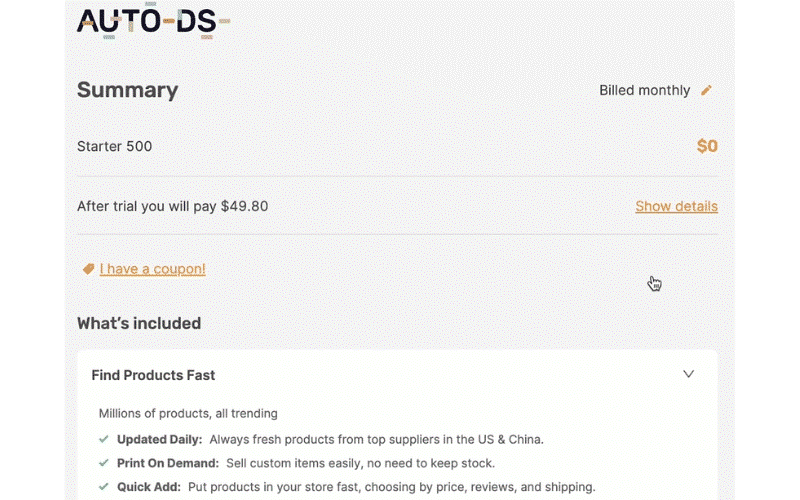
- AutoDS offers a 30-day free trial, so you can test everything out without spending a dime. But to activate the service, you’ll need to select a payment method.
You won’t be charged anything during the trial period, but you’ll need to enter your credit card information or use PayPal to complete the setup.
- Once you’re finished with AutoDS, head back to the Build Your Store tab and press “Done.”
- The final step is to publish your store. Select “Access Shopify” to do this. It’s crucial to uncheck the “Restrict Access to Visitors with Password” option, as you want your store to be open to everyone.

After unchecking this, hit “Save” and return to Build Your Store one last time to click “Done“
Your store is now ready to go!
Step 5: Driving Traffic to Your Store
No matter how amazing your new store is, it won’t generate sales unless people know about it. Driving traffic to your store is crucial for success, especially if you want to make money with AI. While it takes some effort to get started, once you build momentum, it will become easier over time.
There are many ways to market your products, and you don’t need to spend money on ads, especially with social media at your fingertips. Creating organic content around your store’s niche is a great way to attract attention.
For example, since my store is about pets, I can create content about pet care, funny pet stories, or product recommendations and share it on platforms like Facebook, Instagram, and TikTok.
Be sure to link your store in your social media profiles, so people can easily find it.
If you’re unsure what kind of content to create or how to market your store, use free tools like ChatGPT to help.
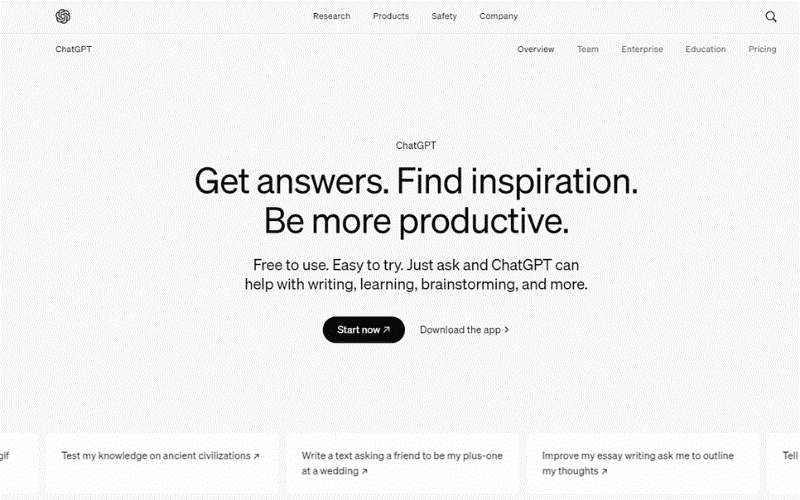
You can ask ChatGPT for marketing ideas, blog topics, or even help with writing social media posts.
For instance, you could say, “I just created an online store about pet products. How can I reach my target audience on TikTok?” ChatGPT will generate suggestions tailored to your needs.
ChatGPT is amazing, use it to your advantage for sure.
Step 6: Blogging and Content Creation
Another effective way to drive traffic and make money with AI is by starting a blog on your Shopify store.
You can write posts about pet care tips, product guides, or share personal pet stories.
Blogging not only boosts your SEO, but it also provides valuable content that engages your audience and directs them to your kick-butt products.

Once your blog posts are live, share them on social media and consider turning them into videos using tools like Canva. This is a great way to repurpose content and reach more people.
For the step-by-step most in-depth tutorial you will ever see about how to start a blog (and a super successful one to boot!), check out one of my blogging tutorials.
You can also use Pinterest to create boards around your niche.
For example, create boards about pet care tips and products, and link your store to these boards.
Engaging in forums like Facebook groups or Reddit communities is another way to attract potential customers. Share helpful tips and occasionally plug your store’s link.
Final Thoughts
While setting up your store is relatively simple, the key to success lies in driving traffic through effective marketing.
If you’re looking to make money with AI, social media will be your greatest asset. This method is an excellent way to generate passive income, especially with AI handling most of the work.
If you found this blog post helpful, please like and share it with others. I’m super excited to see your results!
Thanks for reading 🙂


